
How to Decorate a Bedroom From Scratch: A Step-by-Step Plan
Starting with a completely empty bedroom is exciting and overwhelming in equal parts. You want it to look pulled together, but you also need it to actually work for sleeping, getting dressed, and winding down at the end of a long day. That tension between pretty and practical is where most people get stuck when they try to decorate a bedroom from scratch.
The good news? You don’t need to buy everything at once or have a huge budget. You just need a clear order of operations. When you know which pieces to pick first and which details to save for last, the whole process gets simpler and the results look more intentional.
This step-by-step plan walks you through each layer, from floor plan to finishing touches, so your bedroom actually feels like yours by the time you are done.
1. Measure the Room and Sketch a Floor Plan

Grab a tape measure and write down every wall length, window width, door swing, and outlet location before you shop for a single thing. A five-minute sketch on graph paper saves you from buying a king bed that blocks the closet door.
Mark where natural light enters and which wall has the most unbroken space. That wall is usually your best bet for the headboard. If you are working with a tight footprint, check out these small bedroom ideas for layouts that make the most of limited square footage.
Keep the sketch on your phone so you can reference it in the store.
2. Pick a Three-Color Palette

Choosing colors before buying furniture sounds backwards, but it keeps every purchase from fighting with everything else. Limit yourself to three colors: one dominant neutral for walls and large pieces, one supporting tone for textiles, and one accent for small details like pillows or a lamp base.
A simple palette like warm white walls, soft sage bedding, and brass hardware ties a room together without effort. If you need help narrowing it down, this guide to neutral bedroom color palettes breaks down combinations that actually work in real rooms.
Write your three colors on a sticky note and carry it when you shop. It cuts decision fatigue in half.
3. Bed Frame and Mattress Placed First

The bed takes up the most floor space in any bedroom, so it needs to go in before anything else. Without it, you are guessing where everything else fits. Position the headboard against the wall you identified in your floor plan, centered if the wall is wide enough.
Leave at least 24 inches on each side for walking and making the bed. If the room is narrow, pushing one side against the wall is fine. Just know that making the bed will be harder from one side.
Pick a frame that matches your color palette. Upholstered frames in linen or bouclé add softness. Wood or metal frames read cleaner. I’ve tried both, and upholstered frames hide scuffs better over time.
4. Layered Bedding With Mixed Textures

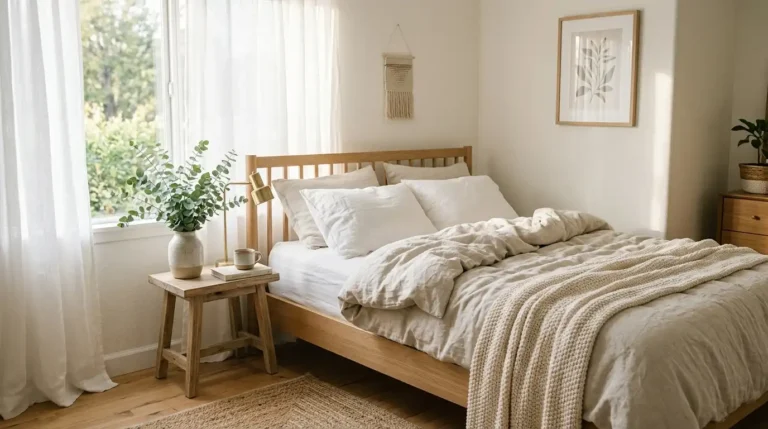
A well-layered bed makes the entire room look finished even before you hang a single thing on the walls. Start with a fitted sheet, then a flat sheet in a coordinating color. Add a duvet or comforter as the main layer, then fold a throw blanket across the lower third.
The trick is mixing textures, not just colors. Pair crisp cotton sheets with a chunky knit throw or a linen duvet with a smooth velvet pillow. That contrast is what makes bedding look styled instead of flat.
🛏️ Bedding Layer Checklist
5. Nightstands Sized to Your Mattress

Here is a rule that saves a lot of returns: your nightstand top should sit within two inches of your mattress height. Too tall and you are reaching up for your water glass. Too short and the lamp looks like it is sinking.
They do not need to match each other. A small wooden table on one side and a wall-mounted shelf on the other works well in tight spaces. Just keep the functional height consistent.
Put a lamp on at least one nightstand. If space is tight, a wall sconce beside the bed frees up the surface entirely.
6. One Standout Overhead Light

Most bedrooms come with a basic ceiling fixture that does nothing for the room. Swapping it out for a pendant, a drum shade, or even a simple black semi-flush mount changes the whole feel in about 20 minutes.
In my experience, warm-toned bulbs around 2700K make bedrooms feel calm and restful. Anything above 4000K starts to feel like an office. If you rent and cannot change the fixture, a floor lamp with a fabric shade placed in a corner adds the same warmth.
💡 Quick Tip
Layer your bedroom lighting with three sources: one overhead, one on the nightstand, and one ambient (like a floor lamp or string lights). Using all three at different brightness levels gives you control over the room’s mood at any hour.
7. Curtains Hung Wide and High

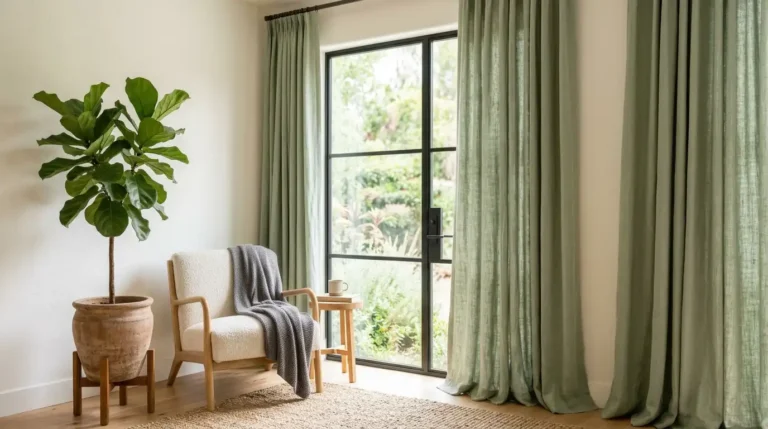
The biggest mistake with bedroom curtains is hanging the rod right above the window frame. That makes windows look small and the ceiling feel low. Instead, mount the rod 4 to 6 inches above the frame and extend it 6 to 10 inches past each side.
This lets more light in during the day and makes the wall look taller. Go with curtains that just barely touch the floor. Too short looks like they shrank in the wash, and puddles of fabric on the floor collect dust fast.
Solid colors in your supporting palette tone keep the look clean. If you want some pattern, stick with one patterned textile per room to avoid visual clutter.
8. An Area Rug Pulled Under the Bed

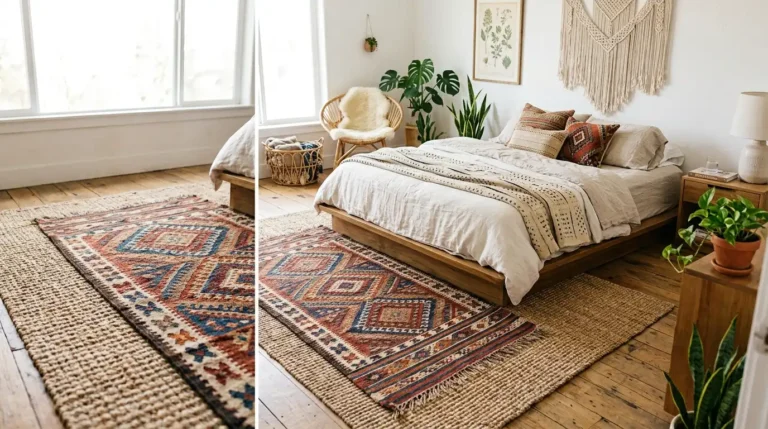
A lot of people think a bedroom rug should sit in front of the bed like a bath mat. That actually makes the room feel chopped up. The better move is a large rug that slides under the lower two-thirds of the bed and extends at least 18 inches past each side.
This way, your feet land on something soft every morning instead of cold floor. It also anchors the bed visually so the whole sleeping area reads as one zone, not scattered furniture. If you want more ideas on pulling a warm space together, this collection of cozy bedroom ideas covers rugs, lighting, and layering that works.
Use a rug large enough to extend 18+ inches past each side of the bed.
Tuck the top third under the bed frame for a grounded, intentional look.
Placing a small rug only at the foot of the bed like an afterthought.
Using a rug that stops right at the bed edge, making the layout feel disjointed.
9. Dresser or Clothing Storage System

You wake up, open the closet, and half your clothes are in a pile because there is nowhere to fold things. That is the morning routine without a dresser. If you have wall space, a six-drawer dresser across from the bed handles most of your folded clothing and doubles as a surface for a mirror or tray.
If floor space is tight, go vertical. A tall, narrow chest of drawers fits in corners and holds more than you would expect. You can also add a slim rolling cart inside the closet for smaller items like socks and accessories. The goal is giving every piece of clothing a home so it does not end up on the chair.
10. Wall Art Grouped Above the Headboard

A bare wall above the bed is the fastest way to make a bedroom feel unfinished. But one small frame hung too high looks just as off. The better approach is a grouping: two to four pieces arranged in a loose cluster, with the center of the group at eye level when you are standing.
Framed prints, a round mirror, or even a pair of woven baskets work. Keep the frames in the same color family so the group reads as one unit, not a patchwork. Most people skip this step, but it is what makes the whole setup feel intentional.
Lay all your pieces on the floor first to test the arrangement before making holes.
Keep 2 to 3 inches between frames for a clean, cohesive look.
Hang the center of the grouping at about 57 inches from the floor.
Use painter’s tape on the wall to mark frame positions before drilling.
11. A Cozy Reading Corner

Pull a small accent chair or upholstered stool into that corner that always looks empty. Add a throw pillow, a short floor lamp, and a tiny side table or stack of books for your coffee mug. That is a reading corner.
It does not need to be large or fancy. Even a cushion on the floor with a basket of blankets next to it counts. The point is giving the room a second purpose beyond sleeping. A bedroom that has a spot to sit and relax in during the day feels more complete than one that is just a bed and a dresser.
12. Personal Touches Saved for Last

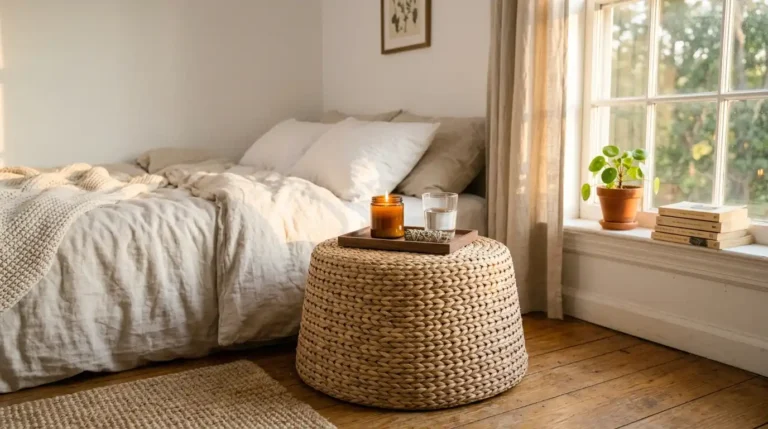
This is the layer most people rush into first, and that is why rooms end up feeling cluttered before they feel styled. Save the small stuff for the very end: a candle on the nightstand, a plant on the dresser, a small tray for your watch and rings, a photo in a simple frame on the shelf.
These details should feel collected, not purchased all at once. Add one or two things, then live in the room for a week before adding more. I have noticed the bedrooms that feel the most like home are the ones that were finished slowly, not all in one shopping trip.
Add personal details last, not first. A bedroom built in the right order looks intentional. One built on impulse buys looks busy.
Conclusion
Knowing how to decorate a bedroom from scratch comes down to doing things in the right order. Start with the layout, set your colors, build up from the bed, and save the small details for last. You do not need to finish it all in a weekend. The rooms that feel the best are the ones that came together a few pieces at a time, with each addition earning its spot.
Bookmark or pin this plan so you can come back to it as you go. One step at a time, your empty room will start to feel exactly the way you want it to.